
After integrating Umbrella with your e-commerce platform (Shopify, WooCommerce, BigCommerce, etc.) you are able to use Umbrella Exit Intent Popups to collect new email subscribers on desktop devices.
Note: If your store is not yet integrated with Umbrella, please reach out to clientsuccess@tryumbrella.com and our team will help you set up the integration.
Please follow these instructions to create an Desktop Popup.
Step 1: Log in to your Umbrella account and click on Exit Intent on the left side menu.
Step 2: Click on the Create Campaign button in the top right corner.

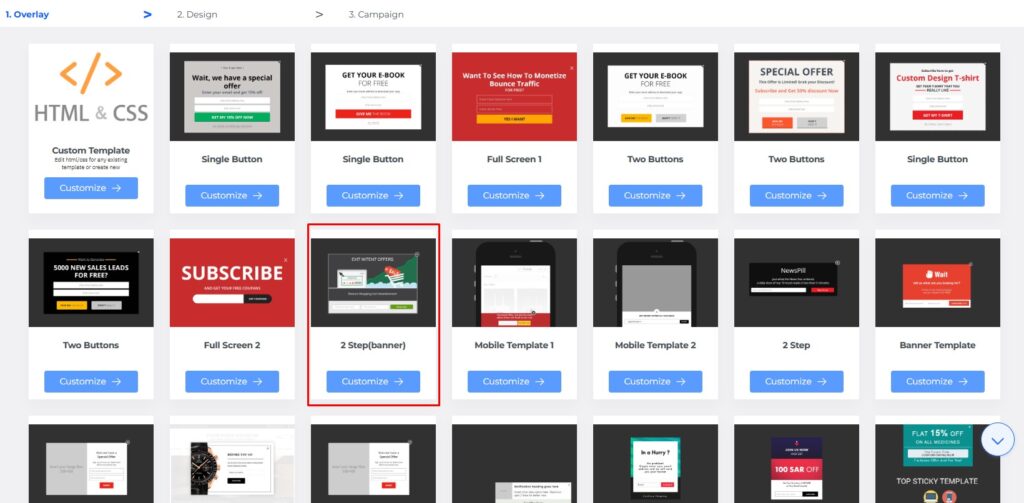
Step 3: The editor will open up. Select 2 Step banner template and click Customize button.
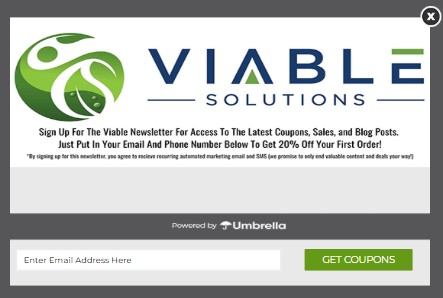
Step 4: In another software for design (Canva, Photoshop, etc.) create an image size 700x370px 72px per inch.
Step 5: In Umbrella platform, in the Exit Intent editor click on the “Background Image” tab and make sure Show Logo is selected.
Click on the Select from Gallery and upload the image.
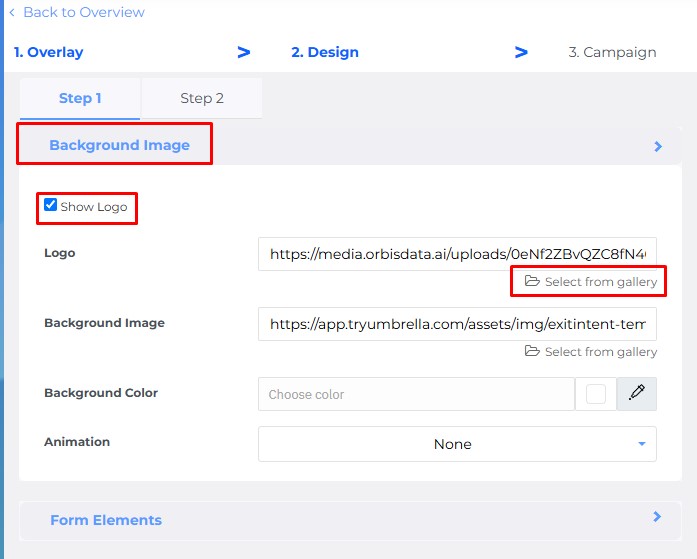
The image will show up on the preview.
Step 6: Click on the “Form Elements” Tab.
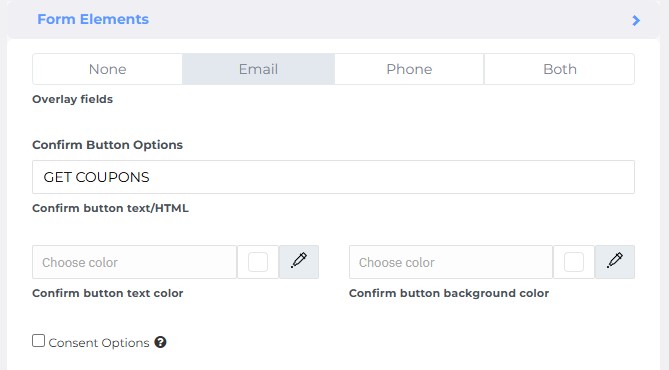
Select Email Overlay field.
Add text to the Button and choose colors.
The Consent Options can be unchecked if you added the consent text to the image as shown below.
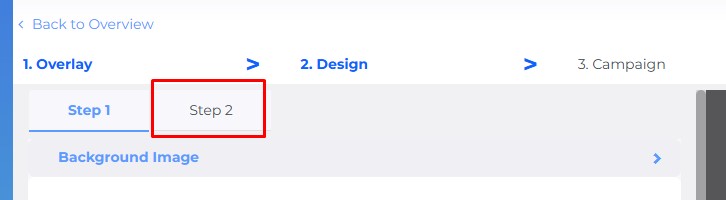
Step 7: Scroll up and select the Step 2 tab.
The second page of the popup will open for editing.
Add the desired text to the heading and sub-heading similar to the example below.
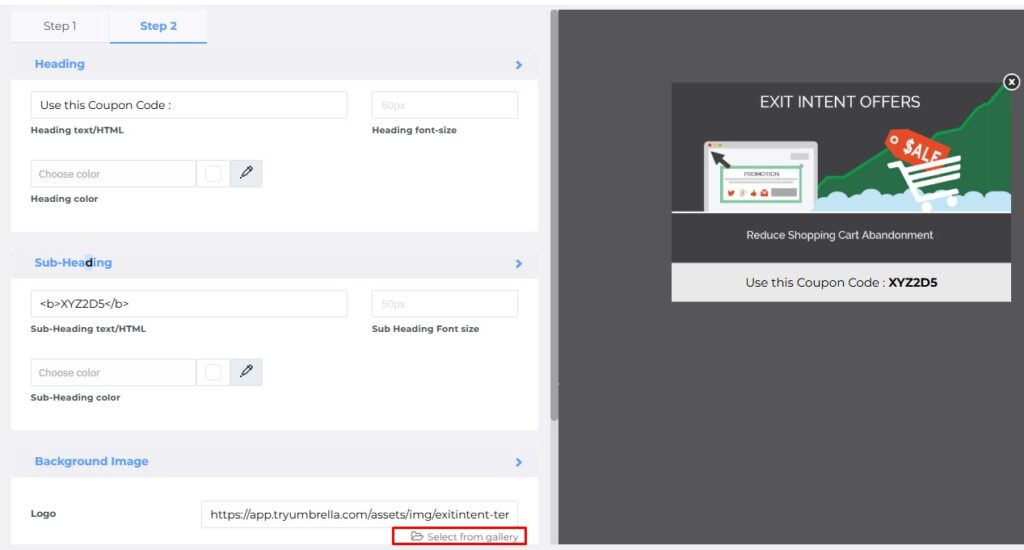
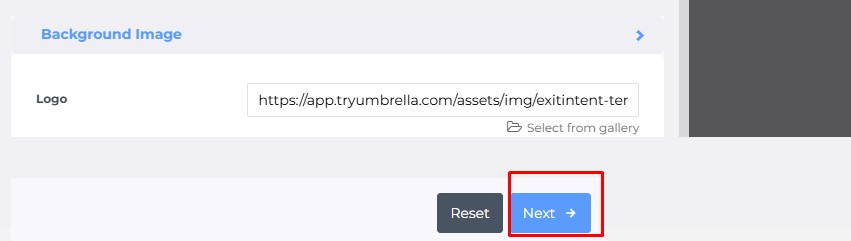
To upload the image for the second step, click on Select from Gallery.
Click “Next”.
Step 8: The conditional settings will open up. On the Basic settings page, add the Popup Name.
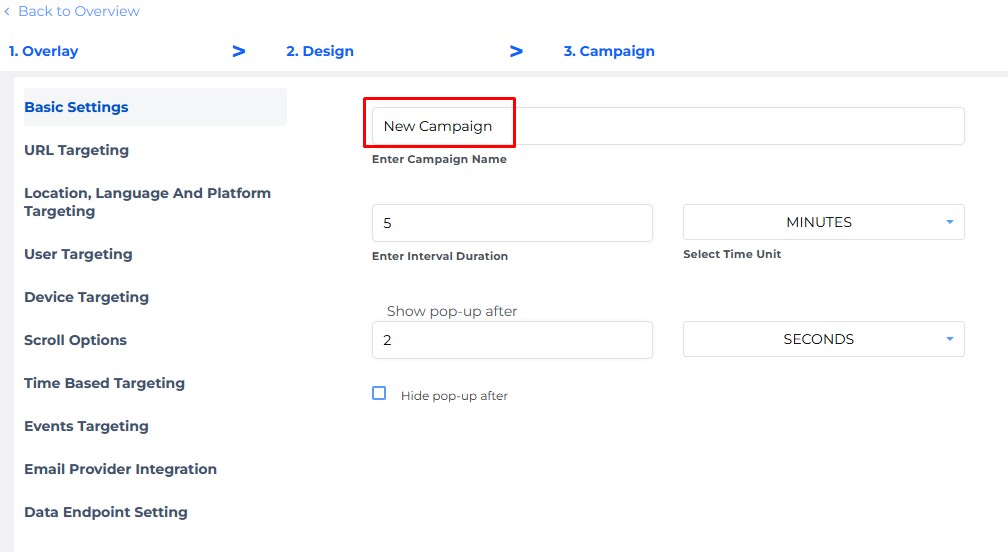
Here is a quick overview of the most important settings:
- URL Targeting allows the popup to show on a specific pages based on conditions or all pages.
- User Targeting allows selecting the audience based on if they are subscribed already (mapped users) and if they are new or returning visitors.
- Device Targeting select if the popup should show on desktop, tablet or mobile.
- Scroll Options if set up, it will trigger the popup after specific percentage of the page was scrolled down.
- Time Based Targeting if set up, it will trigger the popup based on the amount of time an user spent on the page.
- Events Targeting allows triggering popup on specific event (for example: after an use added item to the cart)
Note: Recommended settings for the Welcome Popup.
URL Targeting – All Pages
User Targeting – New and Returning Users
Device Targeting – Desktop
Scroll Option – 15% of the page
Time Based Option – 5 seconds
Scroll and time based trigger won’t conflict. The one that happens first will trigger the popup.
Once the setup is done click Save.
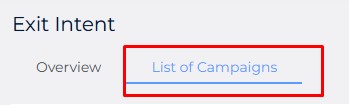
Step 9: Go to the List of Campaigns tab and find the popup you created. Click on the slider button under Actions to enable the popup.
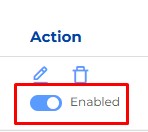
To edit the popup, click on the pencil button.
To delete the popup, click on the trashcan button.

Comments are closed